

After my upgrade to vSphere Hypervisor 6.7 I (again) had to manually install the VMWare Tools for MacOS (and Solaris). VMware only includes the tools ISO images for Windows and Linux in the vSphere Hypervisor installer and during the installation process, any existing ISO image is removed.
As VMWare published version 10.3.0 of the VMWare Tools a few weeks ago, I will document in this (brief) post both the steps to upgrade VMWare tools on vSphere Hypervisor and the steps install the one for MacOS for future use.
The latest version of the VMWare Tools can be obtained from https://vmware.com/go/tools, which currently points to version 10.2.5. However, with a little searching on VMWare’s support site, I located version 10.3.0, of which I installed the VIB to upgrade the Windows/Linux images and the ‘other’ packages for MacOS and Solaris with the following steps:
- From the VMware Tools version 10.3.0 download page, download both the ‘Offline VIB Bundle’ and the ZIP bundle for Solaris and OS X. The reason for using the Offline VIB Bundle and not the ZIP bundle for Windows and Linux is that this way the upgrade is properly registered so that when you would install a patch or update the VMWare Tools won’t be overwritten unless they are newer.
- On the web interface, got to Host –> Actions –> Services and “Enable Secure Shell (SSH)”. It is not needed to bring down any VMs or put the machine in maintenance mode.
- Place the downloaded files on a location accessible to the vSphere Hypervisor (I have an NFS share mounted for that) or upload the files through SSH to the vSphere Hypervisor machine. In the commands below,
/vmfs/volumes/NFS/updatesis where I store the packages, replace that with the location you used. - To upgrade the bundled VMWare Tools for Windows and Linux, execute the following command:
esxcli software vib update -d /vmfs/volumes/NFS/updates/VMware-Tools-10.3.0-core-offline-depot-ESXi-all-8931395.zipThis command will upgrade/install the Windows/Linux ISO images and provide output like this:
Installation Result
   Message: Operation finished successfully.
   Reboot Required: false
   VIBs Installed: VMware_locker_tools-light_10.3.0.8931395-8966758
   VIBs Removed: VMware_locker_tools-light_10.2.0.7253323-8169922
   VIBs Skipped:
- Next install the MacOS and Solaris VMWare Tools images using the following commands:
- Extract the files with:
unzip /vmfs/volumes/NFS/VMware-Tools-other-10.3.0-8931395.zip -d /vmimages/tools-isoimages - Next move them to the right location with:
mv /vmimages/tools-isoimages/vmtools/* /vmimages/tools-isoimages - And remove the temporary directory from the ZIP file with:
rmdir /vmimages/tools-isoimages/vmtools
- Extract the files with:
- On the web interface, got to Host –> Actions –> Services and “Disable Secure Shell (SSH)” again. In case you uploaded the files using SSH, make sure that you remove them as they are no longer needed
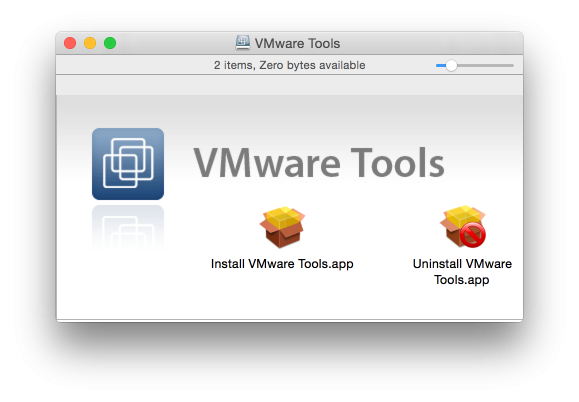
That’s all, the installed version of the VMWare Tools is now available and can be used from the web interface to install and/or upgrade for each VM.